


Check the tray and contact surfaces before choosing packing for a C360 brass knurled insert used in a plastic enclosure thread. A dent can start during deburring, loading, or internal transfer and remain hidden under a clean-looking surface. Begin with the knurl and seating face, then compare the insert before packing with the same part before shipment. The first check should show which contact left the mark and whether the knurl still seats at the required height.
The insert carries a fastener inside a molded plastic boss, so the outside knurl and seating face share the assembly job. A hard divider corner can flatten a knurl crest. A loose metal part can bruise the seating face while the tray moves. Cleaning may remove loose chips without removing a contact dent. The drawing should identify the captured area, the seating face, and any surface that must remain free of handling marks before the team selects a tray, bag, or carton.
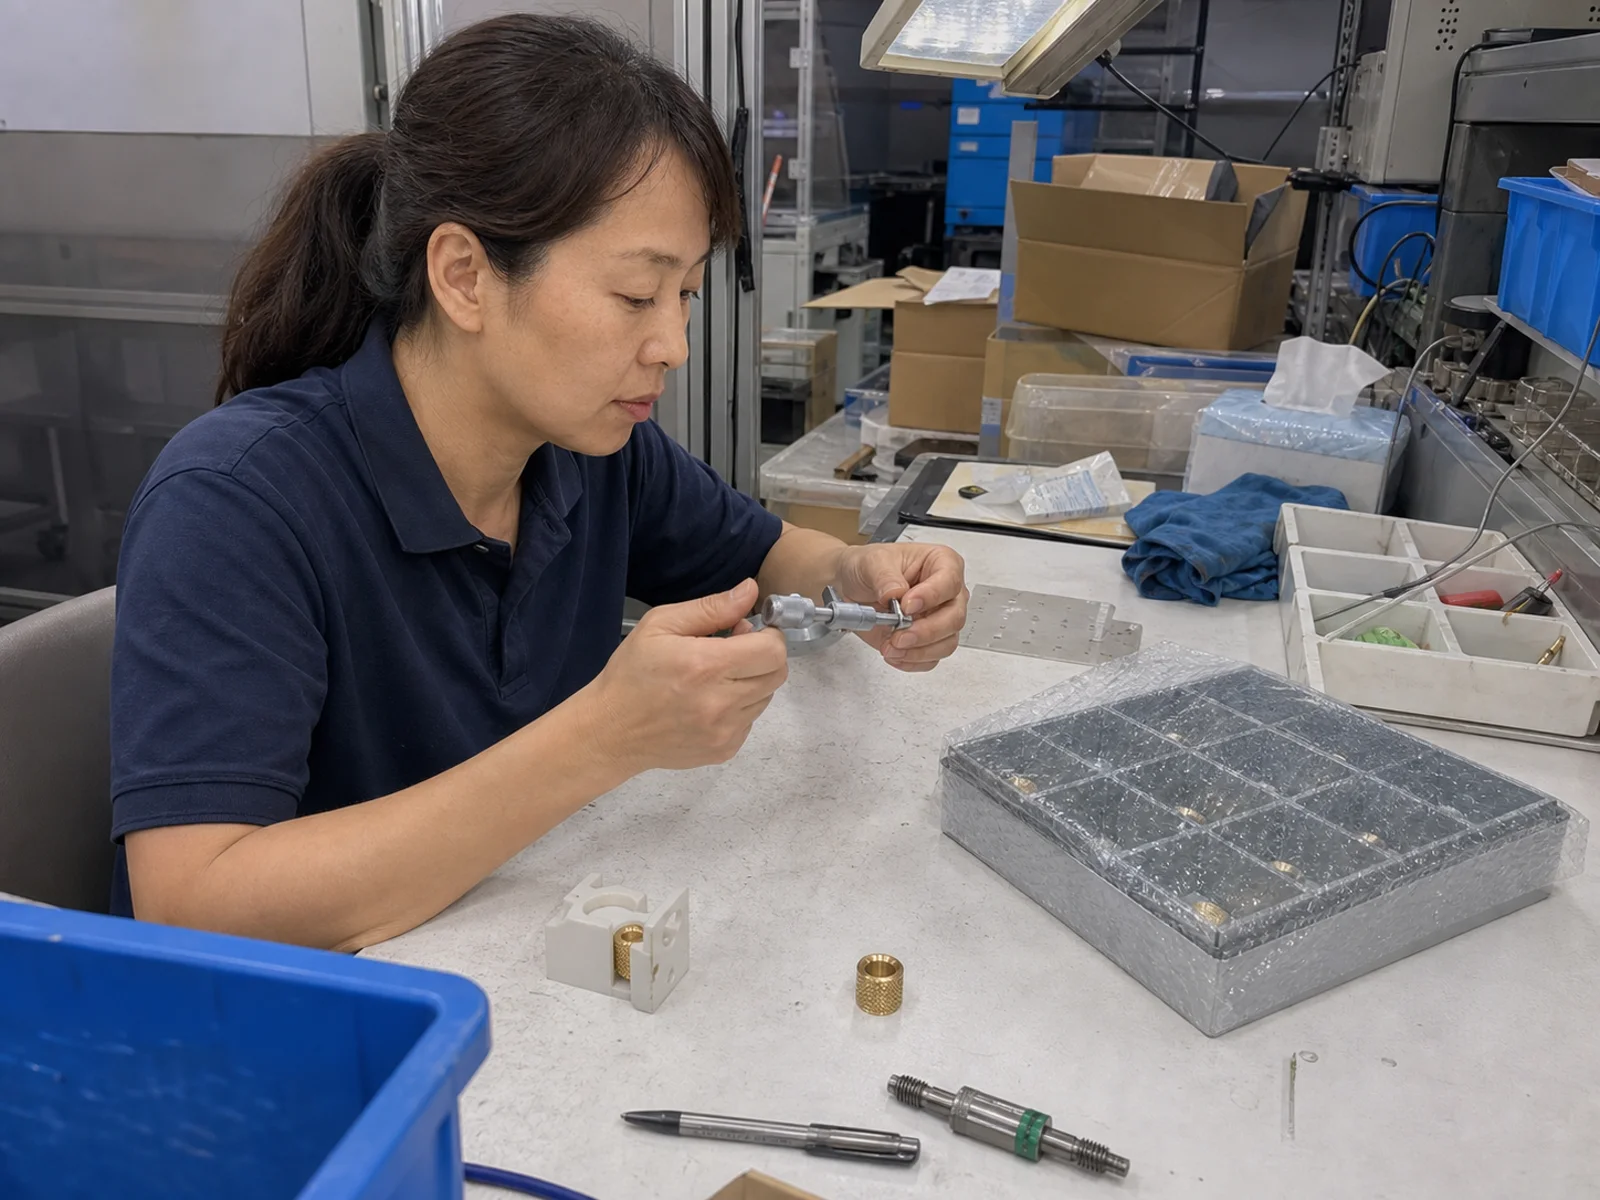
At the packing bench, keep one insert from the deburring stage separate from a sample that has passed through internal transfer. The inspector checks the knurl and seating face under the agreed light, records the contact location, and compares the seating height in a sectioned plastic trial boss. She then repeats the check after the parts reach the shipping area. If the first sample passes but the later sample shows a flattened crest or face mark, hold the lot and trace the handling path before changing the deburring tool.
Keep deburring and packing evidence separate
Deburring can change the outside profile before the insert enters a tray. The operator should remove attached material without pressing the tool into the knurl or seating face. A brush, abrasive, or hand tool can leave different contact marks, so the work instruction should name the approved surface and direction of contact. The as-deburred sample becomes the reference for packing only after the inspector records that condition. A tray mark found later does not prove that the deburring step created it. Keep the first accepted insert in a protected location while the next samples move through packing. That physical reference lets the inspector compare a crest or face without using a new part as the baseline.
Reusable trays add another contact path. An insert can touch a divider, a neighboring part, the bottom of a pocket, or a clipped process card while the tray moves between cells. Keep unchecked inserts, accepted inserts, and exceptions in separate locations. Inspect the tray before loading and after unloading. A repeated mark on the same side of several inserts points toward a tray feature. Different marks across the knurl and face may indicate loose parts, a loading motion, or a separator that has shifted. Record the pocket or divider position when the mark repeats. That location can guide a tray repair faster than a general instruction to handle the brass inserts with care.
Packing material should protect the knurl without hiding the evidence. Soft separators can prevent metal-to-metal contact but may shed material into an internal thread. A closed bag can keep dust away while allowing inserts to slide against one another. Test the chosen divider, bag, or carton with the actual insert and note which surfaces stay supported. Do not approve a bench sample that never experiences the movement from deburring to packing and then to the shipping handover. The trial should include the operator’s loading and removal motion, because dragging an insert across a divider edge can create a line that static inspection will miss.
Use the assembly trial to check the contact decision
Compare the insert before and after transfer with one inspection method. Use the same light, support, and sectioned plastic boss for the knurl and seating-face check. If a first piece passes but a later group shows dents, retain one sample from each process stage and compare the tray load, contact surfaces, and operator sequence. The record should name the stage rather than rely on a clean appearance. A related [blind-hole thread check for brass knurled inserts](/corporatenews/534.html) covers internal thread cleanliness, while the [before-and-after burr inspection method](/industrynews/537.html) shows why the edge condition needs its own process state.
The method has a boundary. Checks before packing and before shipment can show a flattened knurl, contact line, or changed seating face, but they cannot establish pullout strength, molding retention, fastener torque, or long-term enclosure performance without the approved plastic, fastener, and test method. They also cannot separate a material defect from a handling mark when the as-deburred sample was never retained. Keep the handling decision tied to the condition that the sample can support. If the assembly engineer needs a retention result, add a controlled installation trial instead of stretching the packing inspection beyond its purpose.
Before shipment, inspect the deburring surface, tray pockets, divider, bag, and carton contact points with one C360 brass knurled insert. Continue when the knurl and seating face remain unchanged after the internal transfer trial and the insert seats at the defined height in the plastic boss. Stop and revise the handling path when a repeatable contact mark appears, when inserts touch each other, or when protective material enters the thread. That result decides whether the current packing method protects the insert or needs another trial. Keep the accepted sample with the packing record so the next batch starts from the same visible condition and inspection basis for each shipment.