



State the parted-edge requirement before a supplier quotes a 304 stainless sensor housing. A note such as “deburr all edges” leaves the inspection method, acceptable edge condition, and assembly risk open to interpretation. On a small Swiss-turned housing, the cutoff face may sit against a seal, enter a mating bore, or pass close to a cable. The drawing should identify that interface and say whether the edge needs a defined chamfer, a controlled edge break, or freedom from burrs under an agreed viewing method. That information changes the cutoff plan, secondary work, and first article check.
The assembly engineer should begin with the actual contact. A raised lip on the parted face can stop a housing before its shoulder reaches the mating surface. A loose fragment can move during cleaning or assembly. A heavy hand-deburring pass can remove the burr yet round a short locating land or alter the face near a thin wall. The same visual mark can therefore represent three different conditions: attached material above the intended edge, a harmless tool witness, or material removed from a functional feature. The drawing and mating-part information tell the inspector which condition changes fit.
Build the first article check around physical samples
At the inspection bench, keep the as-cut first piece apart from the cleaned and deburred sample. Mark the process state on the tray rather than relying on appearance. The technician checks the parted edge under the agreed magnification and lighting, then turns the housing so the full circumference passes through the same viewing angle. She records marks at the face, chamfer, cross hole, or thread runout by location. A thread gauge may confirm the housing thread during the same first article review, but it does not prove that the cutoff edge is free of a raised lip. Each tool answers a separate question.
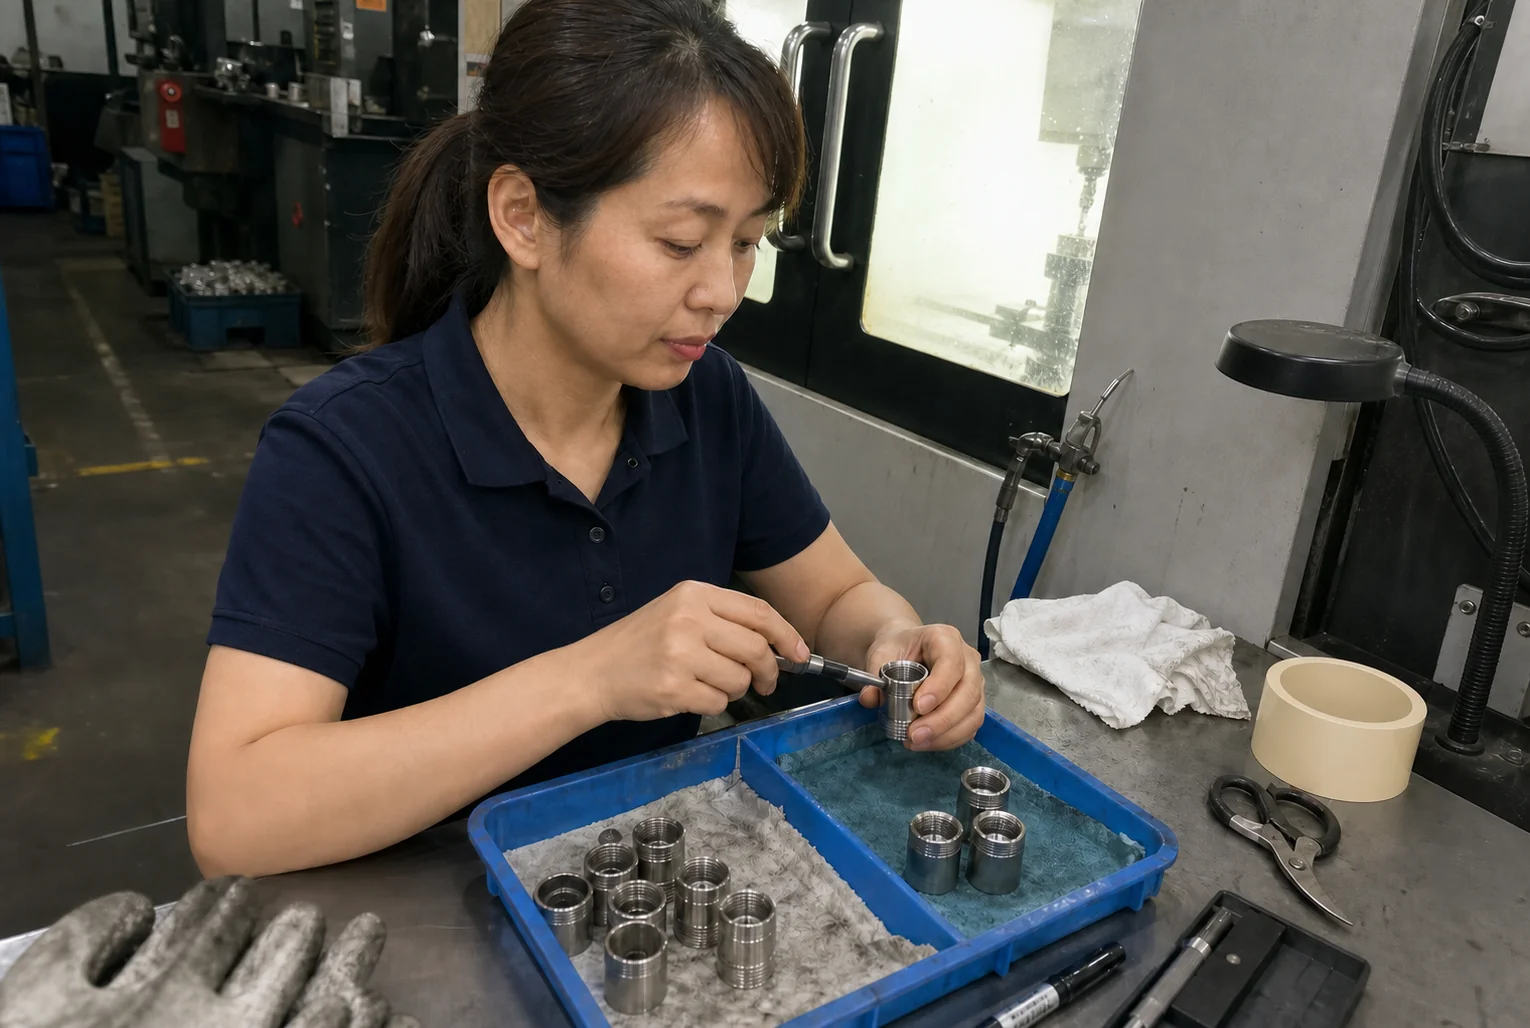
Compare the edge before and after the planned deburring and cleaning sequence. A useful record pairs images from the same orientation and identifies the sample. The inspector looks for attached material, folds, sharp projections, and changes to the intended chamfer. She also checks whether brushing, tumbling, scraping, or another approved method reaches the complete circumference without striking a sealing face. The record should name the inspection stage because an oily as-cut surface and a dry cleaned surface reflect light in different ways. Keep both samples under the same lamp for the final comparison. If cleaning removes loose chips but leaves a continuous raised lip, the team needs to correct the cutting or deburring step. If the apparent defect disappears after the inspector changes the viewing angle, the team should confirm the visual method before adjusting the machine.
Swiss turning adds a process detail that buyers should keep visible in the review. The cutoff operation creates the final face while the part still has limited support. Tool condition, feed, remaining center material, and part handling can change the edge left at separation. Those observations help the supplier investigate a repeatable defect, but the first article record should stay tied to the approved part condition. A photo of a sharp cutoff tool or a clean machine does not replace inspection of the housing. The operator should note whether the mark repeats at one circumferential position or changes around the edge. A repeating feature may point toward the cutoff condition, while random damage may come from collection or movement between operations. Keep one as-cut sample and one accepted sample so the next setup has physical references for the edge and the amount of secondary work.
Separate edge acceptance from cosmetic appearance
A bright line on 304 stainless steel can come from reflection, a tool witness, or displaced metal. Inspectors should rotate the housing and use touch only when the approved method permits it. They should not drag an unprotected finger across a suspect edge. For an edge that enters a seal or close-fitting bore, an assembly trial with the intended mating geometry can add useful evidence. The trial has a boundary: a housing that enters one loose sample does not establish the edge condition for every permitted mating-part size. Visual evidence, the specified edge geometry, and the assembly check need to support the same release decision.
Production checks should preserve the first article method. Take samples at identified points in the run, keep unchecked parts away from accepted parts, and examine the same edge under the same light and magnification. If later samples show a raised lip that the first piece lacked, compare them with the as-cut reference before adding more manual work. Extra deburring can hide cutoff drift while increasing variation at the face. Weeda Precision can use the drawing revision, sample identity, and before-and-after images to discuss whether the process needs a cutoff correction, a controlled secondary operation, or a clearer acceptance note.
Put the release data in the RFQ: the housing drawing, 304 material callout, function of the parted face, mating-part detail, required edge geometry, allowed deburring method, cleaning condition, and inspection basis. State whether the buyer needs photographs, a marked first article, or measurements of the face and adjacent feature. Then run one controlled trial. Inspect the parted edge before deburring, repeat the check after deburring and cleaning, and test the accepted sample in the relevant assembly condition. Approve production only when those records show that the edge treatment removes the burr without changing the functional face, chamfer, thread, or locating land during the trial.